Documentation
Adding documentation to your repos might feel like a chore. They’re boring and have no real value. Wrong. It is one of the most underrated pieces of text, especially when you are a beginner. Firstly, it shows that you are taking programming seriously and have the initiative to write docs. Secondly, it is the only way a new person can know what’s inside your repo. Whether your repo has 10 or 10,000 lines of code, no one will open those folders. Having documentation provides a sneak peek into what’s inside your repo.
Writing Markdown
Yes, you’re going to learn to write in a new language now. So markdown is like plain text with some special characters here and there. It allows you to write simple text that gets rendered as HTML. If you don’t know HTML, that’s fine. In fact, markdown was actually invented for non-technical people to write content for the web. Let’s go over the basics you will need to write your docs.
Headings
Headings are the titles of your document. They are written in the format # Heading. The number of # symbols determines the size of the heading: Heading 1 is the largest, and Heading 6 is the smallest.
# Heading 1

## Heading 2

### Heading 3
Paragraphs
Paragraphs are the text you write, and no special formatting is needed.
Paragraphs are the text you write.
Lists
Lists allow you to add items to your document. You can create bulleted or numbered lists.
-   Item 1
-   Item 2
-   Item 3

1.  Item 1
2.  Item 2
3.  Item 3
Links
Links allow you to connect to other pages on your site. You can link to a page within the same site or to an external site.
[Internal Link](#next-subtitle)
[External Link](https://www.google.com)
Images
Images allow you to add visuals to your document. You can insert them using ! syntax.


Code
Markdown is great for writing text, but what if you want to write code? You can do that too by using the ``` syntax to create code blocks with the language specified.
```cpp
int function add(int a, int b) {
    return a + b
}
```
Example
Funny enough, all the lessons on CS000 are written using Markdown. Here’s what this page looks like (did we just break the fourth wall?):
# Documentation

Adding documentation to your...

# Writing Markdown

Yes, you're going to learn to...

## Headings

Headings are the title of your...

```markdown
# Heading 1

## Heading 2

### Heading 3
```

## Paragraphs

Paragraphs are the text you...

```markdown
Paragraphs are the text you...
```

## Links

Links allow you to connect...

```markdown
[Internal Link](#next-subtitle)
[External Link](https://www.google.com)
```
Markdown has many more powerful features, if you are interested in learning more, check out the official documentation.
Adding Docs
Now that you know how to write Markdown, you can start adding docs to your repos. You will need to create a README.md file in the root of your repo. You can have a docs directory as well to store images you want to reference in your README.
code
└── CS000
    ├── docs
    │   └── image.webp
    ├── README.md
    ├── sum.cpp
    └── sum.exe
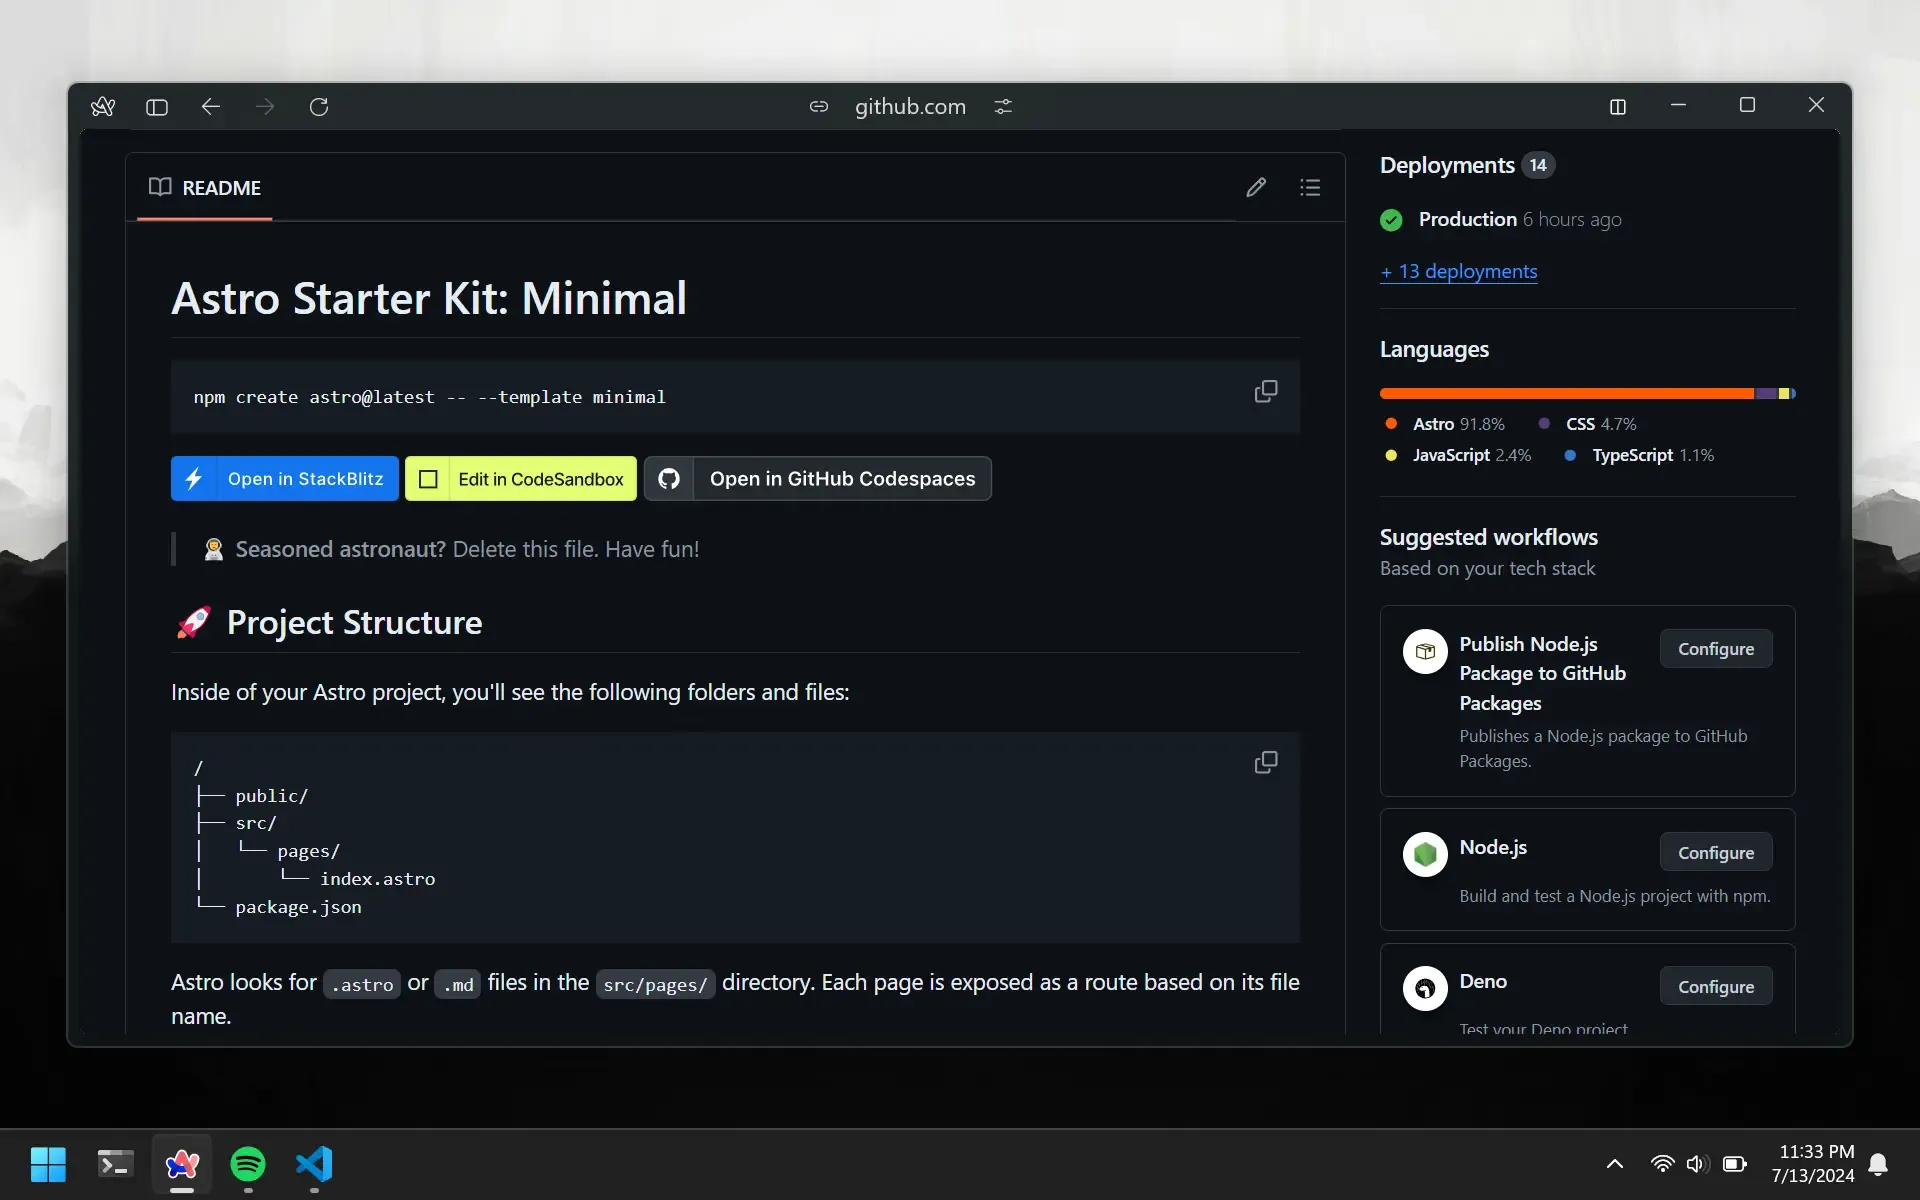
The README.md file is displayed on your GitHub repository’s page. Add your documentation, then push the changes to GitHub. You can view the documentation under the list of files in your GitHub repo. Here’s what it will look like once you push your changes: