LazyGit Setup
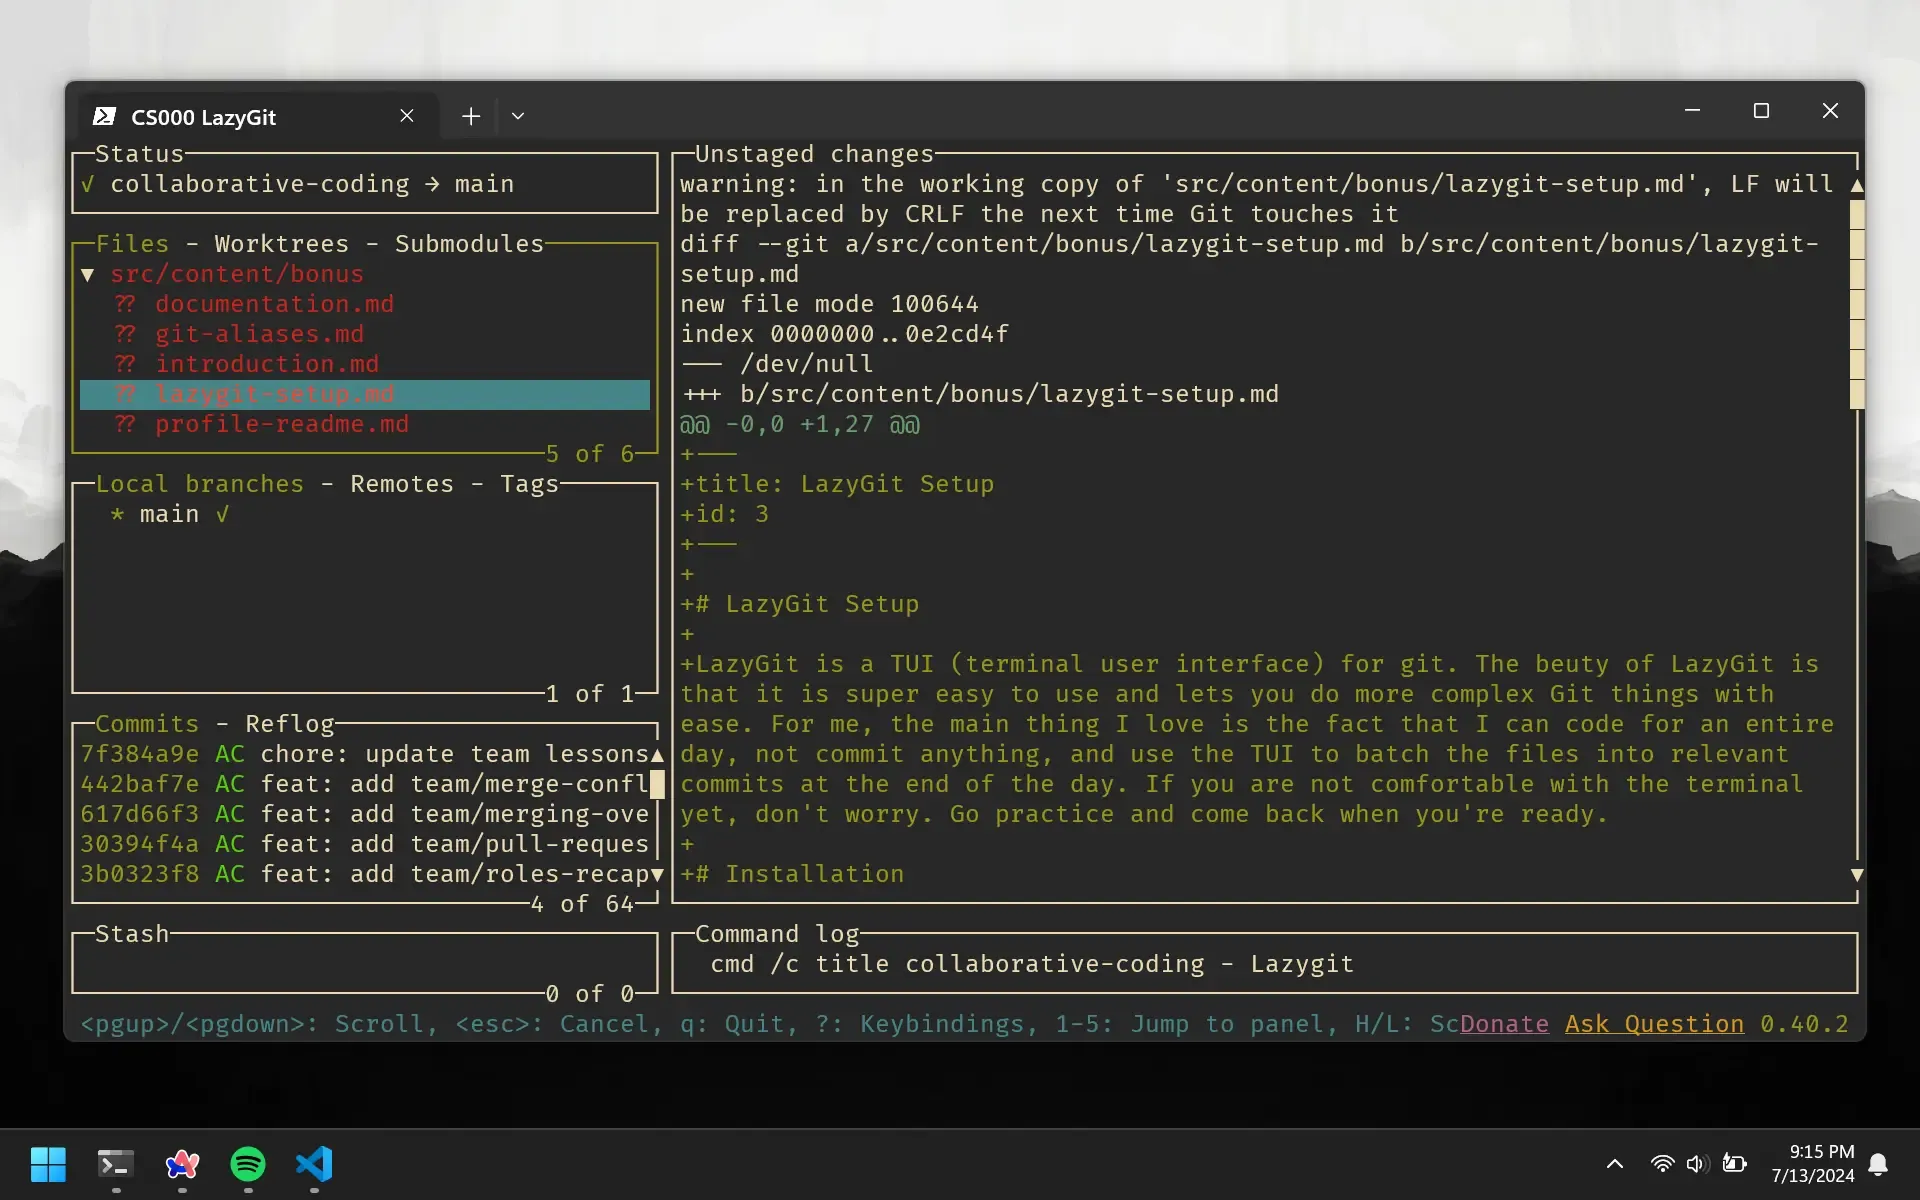
LazyGit is a TUI (terminal user interface) for git. The beauty of LazyGit is that it is super easy to use and lets you do more complex Git tasks with ease. For me, the main thing I love is the fact that I can code for an entire day, not commit anything, and use the TUI to batch the files into relevant commits at the end of the day. If you are not comfortable with the terminal yet, don’t worry. Go practice and come back when you’re ready.
Installation
LazyGit will be installed using the terminal. Open up your terminal and run the command specific to your operating system.
Windows
Make sure you have Scoop installed.
scoop bucket add extras
scoop install lazygit
MacOS
brew install lazygit
Run LazyGit
You will have to navigate to the directory you want to use LazyGit in using the teminal. Then run the command lazygit to open up the TUI.
lazygit
If you are not in a Git repo, you will be given an option to initialize Git. This may look overwhelming at first but it is very simple once you’ve made a few commits.
There is quite a bit to learn, and not many people will want to use it. This is why I won’t provide instructions on how to use it. Instead, I will offer some resources to help you get started.
Resources
LazyGit Global Alias
Just as we set a global alias for git, we can set a global alias for lazygit. Do this yourself. If you are stuck then you can refer to the chapter where we get a global alias for git. Since our alias for git was g, we can use l for lazygit.